
AI Canvas vs. Chat-Based Image Generators: What Actually Changes
November 10, 2026 · 7 min read · Draftio
What actually changes when image generation moves from a chat box to a canvas: reference images, inpainting, model routing, and a five-step workflow.
The first time you open a canvas after months of chat-based generation, the missing prompt box is the least interesting part. The real change is that the picture becomes the context. You stop describing what you already have and start editing it.
The short version
Lock the subject first, pick the output size second, and only then choose a model. Run that order backwards and you get the same failure every time: a beautiful frame that cannot survive a second aspect ratio, or a set of images where the product's handle changes shape between shots.
Where chat still wins
Chat is faster for one-off exploration. If the goal is to see ten interpretations of an idea, a text box and a generate button is the shortest path. It is also better when the output is a single image you will never touch again.
The friction starts on the second revision. Every change costs a full regeneration, and the model has to rebuild everything you did not ask it to change. Nobody notices this on a moodboard. Everybody notices it on a product shot.
Where a canvas wins
A canvas treats each image as an object you can point at. That single property changes the shape of the work:
| Dimension | Chat generator | Canvas |
|---|---|---|
| Unit of work | one prompt | one node, one image |
| Revision | describe again, reroll | mask a region and repaint |
| Reference image | affects the current turn only | stays on the board and gets reused |
| Multiple sizes | regenerate per ratio | derive from a master image |
| Multiple models | one model per session | swap models per step |
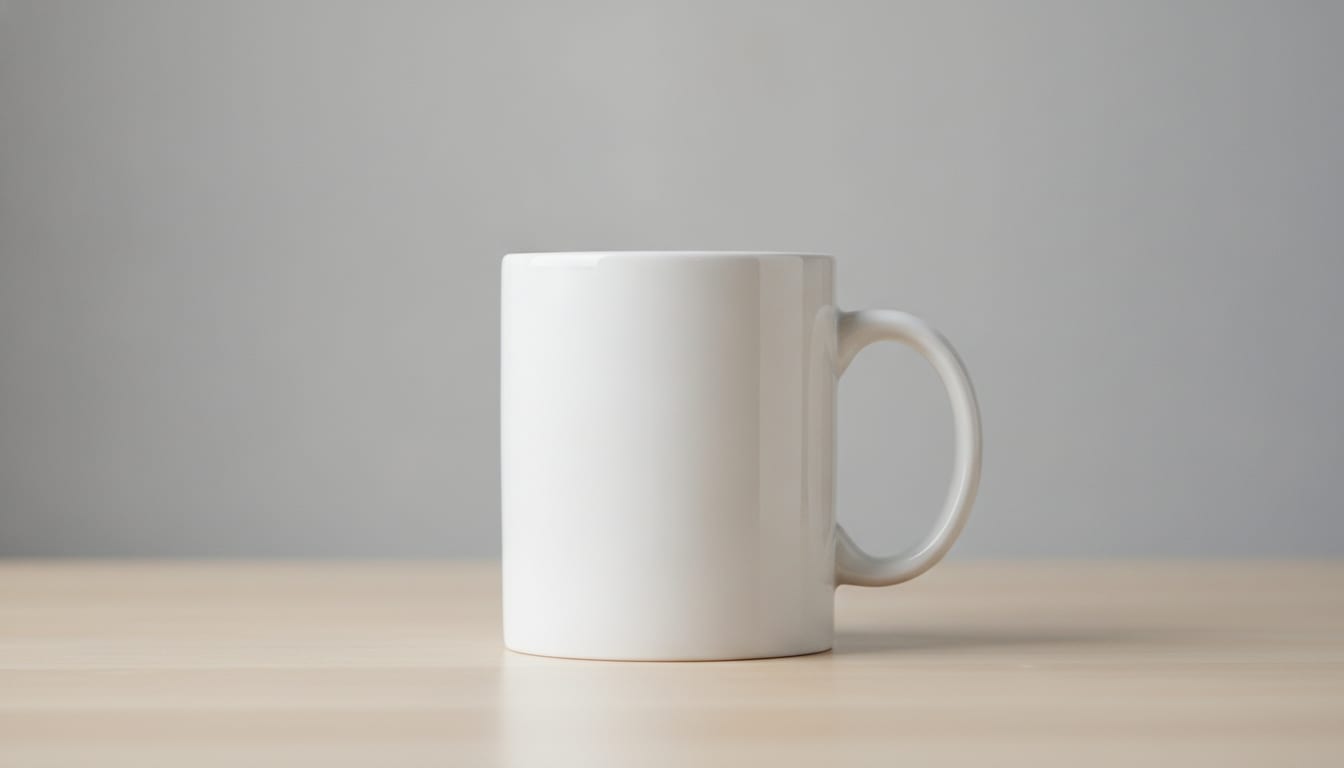
Rows three and four are where the time savings actually come from. Once a reference image sits permanently on the board, you no longer spend a paragraph explaining that the mug is cylindrical with a C-shaped handle on the right.
The four moves on a canvas
Generate a baseline. The first image does not need to be beautiful, but the subject has to be correct. Product shape, character design, scene lighting: settle it here, because everything downstream inherits it.
Attach it as a reference. Put the baseline on the board and let later nodes cite it. For multi-angle work, attach two references, one for structure and one for material detail.
Edit locally. Selection, brush, erase, cut-out, and expand all do the same thing in different ways: they shrink the blast radius of a change. Adjusting a highlight is cheaper and more predictable than regenerating the whole frame.
Compose and export. Arrange product, copy, and background on the same board. When you need a set, duplicate the node and change the ratio instead of rebuilding the layout in another tool.
How to route between models
There is no best model, only a best model for a step. This is the routing we actually use, with names taken from the model configuration in the product:
| Step | Models | Why |
|---|---|---|
| Quick composition tests | Gemini 2.5 Flash Image | fast enough to explore several directions |
| Final-detail passes | Nano Banana Pro, GPT Image 2 | steadier structure, fewer text errors |
| Chinese poster layouts | Seedream v4.5, Qwen Image | more reliable CJK glyphs and spacing |
| Stylised illustration | FLUX 2 Klein, Midjourney | richer style vocabulary |
| Image to video | Seedance 1.5, Kling v3.0, Veo 3.1 | differ in duration, ratio, and audio |
The working rule: cheap models explore, expensive models finish. Three directions from a fast model plus one refined pass beats rerolling an expensive model and hoping. Per-model costs are listed on the pricing page.
A five-step workflow that survives deadlines
- Lock the subject. Start from a real product photo or a design reference and confirm shape, material, and colour.
- Choose the size. Decide whether the primary placement is square, landscape, or vertical before generating anything.
- Produce the master. Render the first final image with a high-fidelity model, and write the prompt and settings into the node note.
- Derive the variants. Outpaint or recompose from the master. Change size and whitespace, not the subject.
- Archive with tags. Move approved images into the library with a use-case tag so the next campaign in the series starts from a real asset.
Step three is the one people skip. A campaign usually needs five or six variants of the same visual, and a reproducible prompt is worth more than a good feeling about the result.
Three failure modes
Describing instead of referencing. "A white mug with a handle on the right" is a much weaker input than the photo itself. Models disagree about adjectives more than you expect.
Changing too much at once. Editing background, lighting, and product angle together makes it impossible to tell which change broke the image. Move one variable at a time.
Leaving size until the end. A wide composition forced into a vertical frame either loses the subject or squashes it. Size is an input, not a post-processing step.
Where to start
If you already have a product photo, open the canvas and generate a baseline from it. If the prompt is the harder part, borrow the structure of a template from the prompt library and swap in your own subject. The tool amplifies judgement; it does not replace the decision about what the image is supposed to do.
FAQ
- Do I need a GPU to use an AI canvas?
- No. Models run in the cloud and the browser only handles interaction and preview. What affects speed is the model you pick and the output size.
- Can the images be used commercially?
- It depends on the licence of the model and where the inputs came from. Your own product photos are usually fine; third-party assets and real people need their own clearance.
- How many aspect ratios can one reference produce?
- Common ratios like 1:1, 4:5, 16:9, and 9:16 are all supported. The more extreme the crop, the higher the risk of cutting into the subject, so generate close to the target ratio first.
References
lib/ai-model-config.tslib/feature-catalog.ts
Running the workflow beats reading about it
Open the canvas, drop in one of your own product photos, and the whole loop takes about ten minutes.